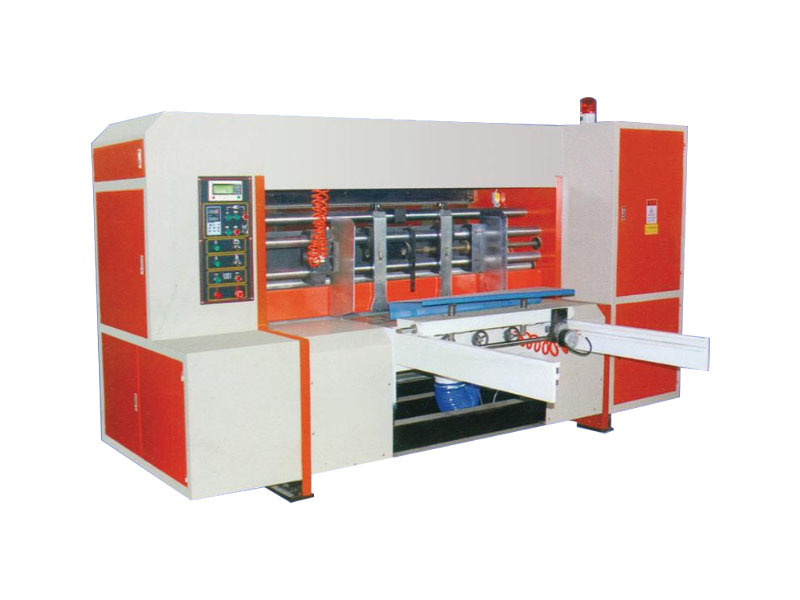
How to Organize Your Die Cutting Workspace for Maximum Efficiency
How to Organize Your Die Cutting Workspace for Maximum Efficiency
Table of Contents
- Understanding the Importance of Workspace Organization
- Essential Tools and Materials for Die Cutting
- Creating the Perfect Workspace Layout
- Strategies for Storing Die Cutting Tools
- Organizing Your Die Cutting Materials
- Maximizing Efficiency with Color Coding
- Implementing a Cleaning Routine
- Adapting Your Setup for Special Projects
- Frequently Asked Questions
- Conclusion
Understanding the Importance of Workspace Organization
In the world of die cutting, efficiency is key. An organized workspace not only boosts productivity but also enhances creativity. When your tools are easily accessible and your materials are in order, you can focus on the artistry of your projects rather than searching for misplaced items. A well-structured die cutting workspace reduces stress and minimizes the time spent on each project, allowing you to maximize output and quality.
Essential Tools and Materials for Die Cutting
Before diving into the organization process, it’s crucial to identify the essential tools and materials that will inhabit your die cutting workspace. Here’s a comprehensive list:
- Die Cutting Machine: The heart of your workspace, whether it's a manual or electronic model.
- Cutting Dies: These are the shapes and designs you’ll be working with.
- Cutting Mats: Protect your workspace and prolong the life of your blades.
- Scissors and Trimmers: For precision cutting and trimming.
- Adhesives: Choose from glue, tape, or double-sided adhesive depending on your projects.
- Storage Solutions: Bins, shelves, and organizers to keep everything tidy.
- Measuring Tools: Rulers and measuring tapes for accuracy.
Creating the Perfect Workspace Layout
Your workspace layout significantly influences your workflow. To create an efficient layout, consider the following tips:
- Work Triangle Concept: Arrange your workspace to minimize movement. Position your die cutting machine, cutting dies, and materials in a triangular formation.
- Zoning: Designate specific areas for cutting, assembling, and storing materials. This prevents clutter and confusion.
- Accessibility: Place frequently used items within arm’s reach. Less frequently used tools can be stored further away.
- Natural Light: Position your workspace near natural light sources to enhance visibility and improve your mood while working.
Strategies for Storing Die Cutting Tools
Effective storage solutions play a pivotal role in maintaining an organized die cutting workspace. Here are some strategies to consider:
- Shelves and Cabinets: Use shelves to store larger items and cabinets for smaller tools. Label each shelf or cabinet for easy identification.
- Magnetic Strips: Install magnetic strips on walls or tool boards to hold metal dies and scissors, keeping them visible and accessible.
- Drawer Organizers: Use organizers within drawers to separate different tools and materials, making them easy to locate.
- Clear Bins: Store materials in clear bins to quickly identify contents without opening every box.
Organizing Your Die Cutting Materials
Keeping your die cutting materials organized is just as important as storing your tools. Follow these tips for efficient material organization:
- Type Categorization: Organize materials by type (e.g., paper, vinyl, fabric) to streamline your workflow.
- Color Sorting: Sort materials by color to quickly find what you need for specific projects.
- Use Binders: For smaller sheets of paper, use binders with plastic sleeves to protect and organize materials.
- Label Everything: Use clear labels to identify materials and their intended use.
Maximizing Efficiency with Color Coding
Color coding is an excellent strategy to improve organization and efficiency. Here’s how to implement it:
- Labeling System: Assign colors to different categories of tools, materials, and projects. For example, blue for adhesives, red for cutting tools, and green for paper types.
- Storage Containers: Use color-coded bins or drawers to help quickly locate items in your workspace.
- Project Tracking: Maintain a color-coded project tracker to visualize what materials and tools are needed for each project at a glance.
Implementing a Cleaning Routine
Regular cleaning is vital for maintaining an organized workspace. Here are some practices to implement a cleaning routine:
- Daily Cleanup: Dedicate the last 10-15 minutes of your workday to tidy your workspace. Put tools back in their designated spots and dispose of scraps.
- Weekly Deep Clean: Once a week, conduct a thorough cleaning of your workspace, including dusting surfaces, organizing drawers, and checking your materials.
- Tool Maintenance: Regularly check your tools for wear and tear, cleaning them as needed to ensure optimal performance.
Adapting Your Setup for Special Projects
For unique projects, it may be necessary to adapt your workspace. Consider these strategies:
- Temporary Workstations: Set up a temporary workstation for large projects that require more space, using folding tables or portable carts.
- Flexible Layouts: Maintain a flexible layout that can be adjusted based on the size and demands of the project.
- Project-Specific Kits: Create kits for specific projects that include all necessary tools and materials, allowing for quick setup and teardown.
Frequently Asked Questions
What are the best tools for die cutting?
The best tools include a high-quality die cutting machine, various cutting dies, cutting mats, scissors, trimmers, and adhesives tailored for your specific projects.
How do I choose the right die cutting machine?
Consider factors such as the type of materials you want to cut, the size of the machine, ease of use, and whether you prefer manual or electronic options.
How often should I clean my die cutting workspace?
We recommend a daily cleanup routine for minor messes and a thorough deep cleaning at least once a week to maintain an organized environment.
Can I use household items for storage in my workspace?
Absolutely! Common household items like jars, boxes, and containers can be repurposed to store tools and materials efficiently.
What are some tips for staying organized while working on multiple projects?
Maintain separate folders or bins for each project, use color coding, and keep a checklist to track progress and needed materials for each project.
Conclusion
Organizing your die cutting workspace for maximum efficiency is not merely a matter of cleanliness—it’s a strategic approach to enhancing creativity and productivity. By implementing the tips and strategies outlined in this guide, you can create a workspace that fosters inspiration and allows you to focus on your craft. Remember, an organized workspace is a happy workspace, and with the right tools and layout, you’ll be well on your way to achieving die cutting excellence. Take the time to invest in your workspace today, and watch your projects flourish.
TAG:
Related Posts
Unlocking the Potential of Flexo Printing Machines: A Comprehensive Guide


